OneSpan Sign How To: Creating a Simple JavaFX Desktop Application

JavaFX is a GUI (Graphical User Interface) library that allows you to create a variety of desktop applications. It is in the current process of replacing Swing as the standard GUI library for Java SE, although Swing is still very much used today. JavaFX offers many advantages over Swing, such as:
- Improved event handling
- Supports properties
- Supports Cascading Styles Sheets (CSS)
- More consistent controls
Both JavaFX and Swing use event handling to respond to user input events. However, JavaFX is more consistent in handling these events than their equivalents in Swing. This is mainly due to the fact that JavaFX supports the concept of properties. In other words, a property is a variable whose value can be observed and allows you to write code that’s trigged automatically whenever the property changes. You can also bind properties to each other, meaning that if the value of one property changes, the other property value changes with it. In this blog, I will show you how to create a simple JavaFX desktop application in which your user is required to fill-out a form and subsequently sign a sample contract using OneSpan Sign.
Requirements
Before diving into the code, you will need to setup your environment to create your JavaFX desktop application. For this blog, you will need the NetBeans IDE, JavaFX Scene Builder 2.0, and OneSpan Sign’s Java SDK.
Downloading NetBeans 8.1
NetBeans is the official IDE for Java 8. Therefore, it supports the latest Java technologies. You can go ahead and download any IDE you wish but everything covered in this blog will be using NetBeans. If you do choose to install another IDE, make sure it supports JavaFX. You will also need to install JDK 8, if you haven’t done so already. You can download NetBeans and JDK 8 from the link below.
Downloading JavaFX Scene Builder 2.0
JavaFX Scene Builder is a visual layout tool that lets you quickly design user interfaces (UI) without needing to write any code. As you build the layout of your UI, the FXML (more on this later) code for the layout is automatically generated. You can download JavaFX Scene Builder from the link below.
Download JavaFX Scene Builder 2.0
Downloading OneSpan Sign’s Java SDK
The link below will take you to a page where you can download OneSpan Sign’s Java SDK and also provides a link to some examples of using the Java SDK on GitHub. After downloading the SDK, unzip the JAR files to a location of your choice. Download OneSpan Sign’s Java SDK
Installation and Configuration
NetBeans IDE 8.1
After downloading NetBeans, go ahead and run the executable file. At the Welcome page of the installation wizard, click Next.

Next, you will be presented with the License agreement page. Go ahead and click the acceptance check-box, and click Next.

At the NetBeans IDE installation page, you can either accept the default directory or specify one of your own. By default, the installer will automatically populate the default JDK directory, if found. If the installation wizard did not find a compatible JDK installation to use with the NetBeans IDE, then your JDK is not installed in the default directory. In this case, specify the path to an installed JDK and click Next, or cancel the current installation. After installing the required JDK version you can restart the installation.

Then, you will be presented with the Summary page. Here, you can choose if you want the installer to automatically check for updates of installed plugins. This step is purely optional and I will leave this step to your discretion. Click Install to begin the installation.

At the Setup Complete page, you can choose to provide anonymous usage data, if you wish, and click Finish.

JavaFX Scene Builder 2.0
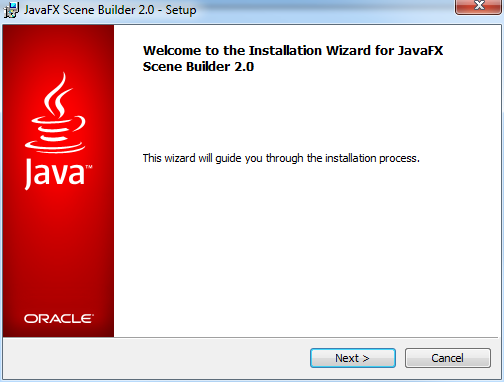
After downloading JavaFX Scene Builder 2.0, go ahead and run the executable file. At the Welcome page of the installation wizard, click Next.
At the JavaFX Scene Builder 2.0 installation page, you can either accept the default directory or specify one of your own. After doing so, go ahead and click on Install.

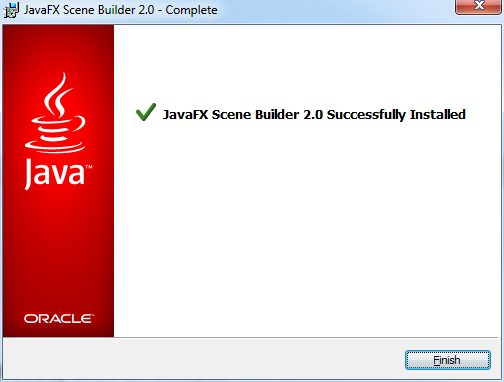
When the installation is completed, click on Finish.
The Code
We are now ready to dive into the code. Go ahead and run the NetBeans IDE. From the toolbar menu, select File > New Project. From the New Project window, select "JavaFX Application" and hit Next.

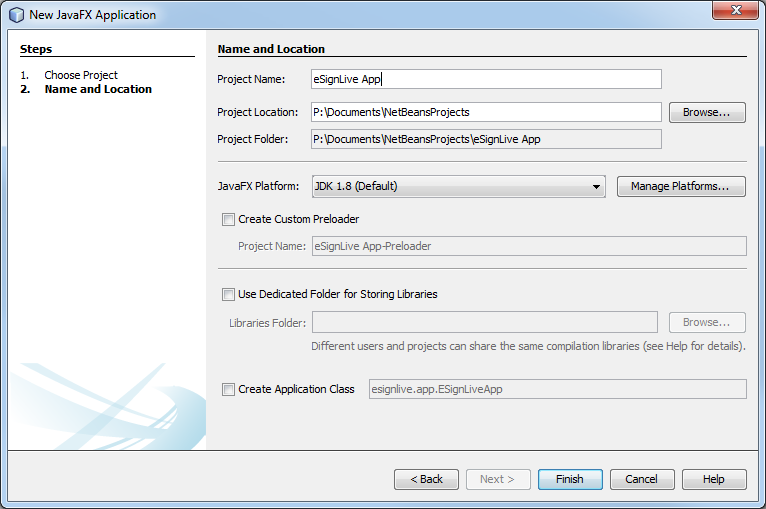
Give your project a name (e.g. OneSpan Sign App) and click Finish.
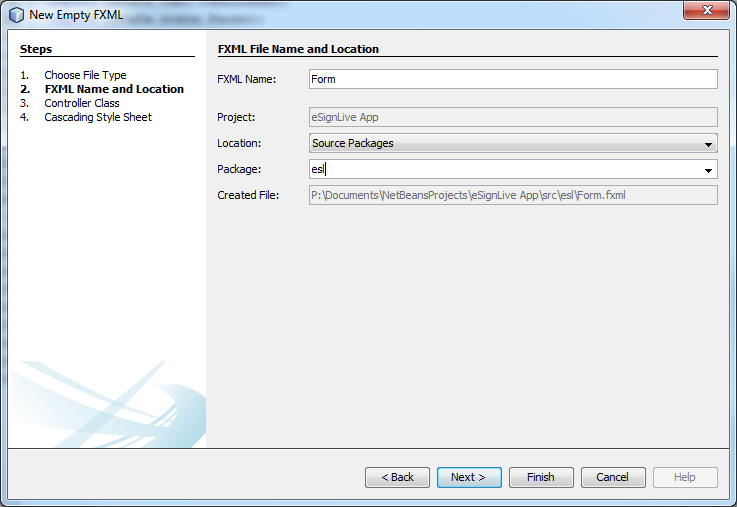
Next, in the Projects Explorer window, expand the "Sources Packages" folder and right-click on the default package. Then, select New > Empty FXML. Name your FXML "Form" and Package "esl" and click on Next.
Here, select the "Use Java Controller" check box and click on Finish.
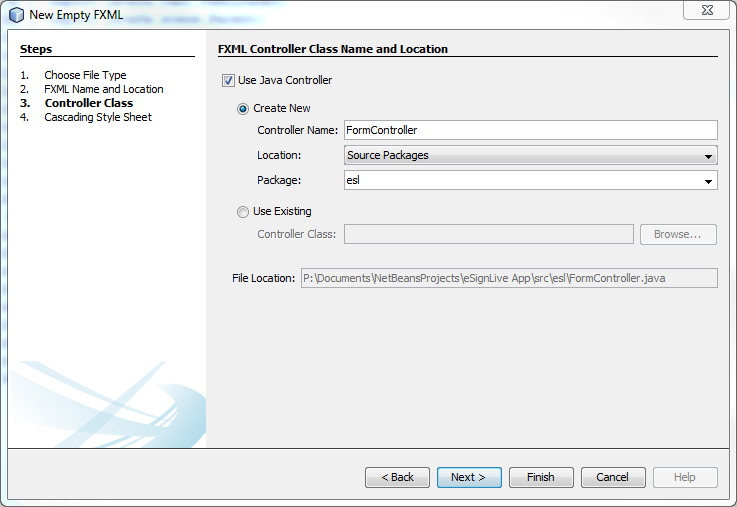
FXML is an XML-based (Extensible Markup Language) for describing user interfaces. We will use FXML to create a form. Also, JavaFX applications define the user interface container by means of a stage and a scene. The Stage class is the top-level JavaFX container (i.e. window) while the scene class is the container for all content.
The next step is to create a "Form.java" file. This file will include the code for setting up the application main class and for defining the stage and scene. In the Projects Explorer window, right-click on your "esl" package and select New > Java Class. Name your class "Form" and hit on Finish. Then, add the following code:
package esl;
import javafx.application.Application;
import javafx.fxml.FXMLLoader;
import javafx.scene.Parent;
import javafx.scene.Scene;
import javafx.stage.Stage;
/**
*
* @author hhaidary
*/
public class Form extends Application {
@Override
public void start(Stage primaryStage) throws Exception {
Parent root = FXMLLoader.load(getClass().getResource("/esl/Form.fxml"));
Scene scene = new Scene(root);
primaryStage.setScene(scene);
primaryStage.setTitle("ESL Package Creation Form");
primaryStage.show();
}
}
The code above uses the FXMLLoader class to load the FXML source file and return the resulting object graph.
Now, we will edit the FXML file created previously. In the Projects Explorer window, double-click on "Form.fxml". This will open the JavaFX Scene Builder.
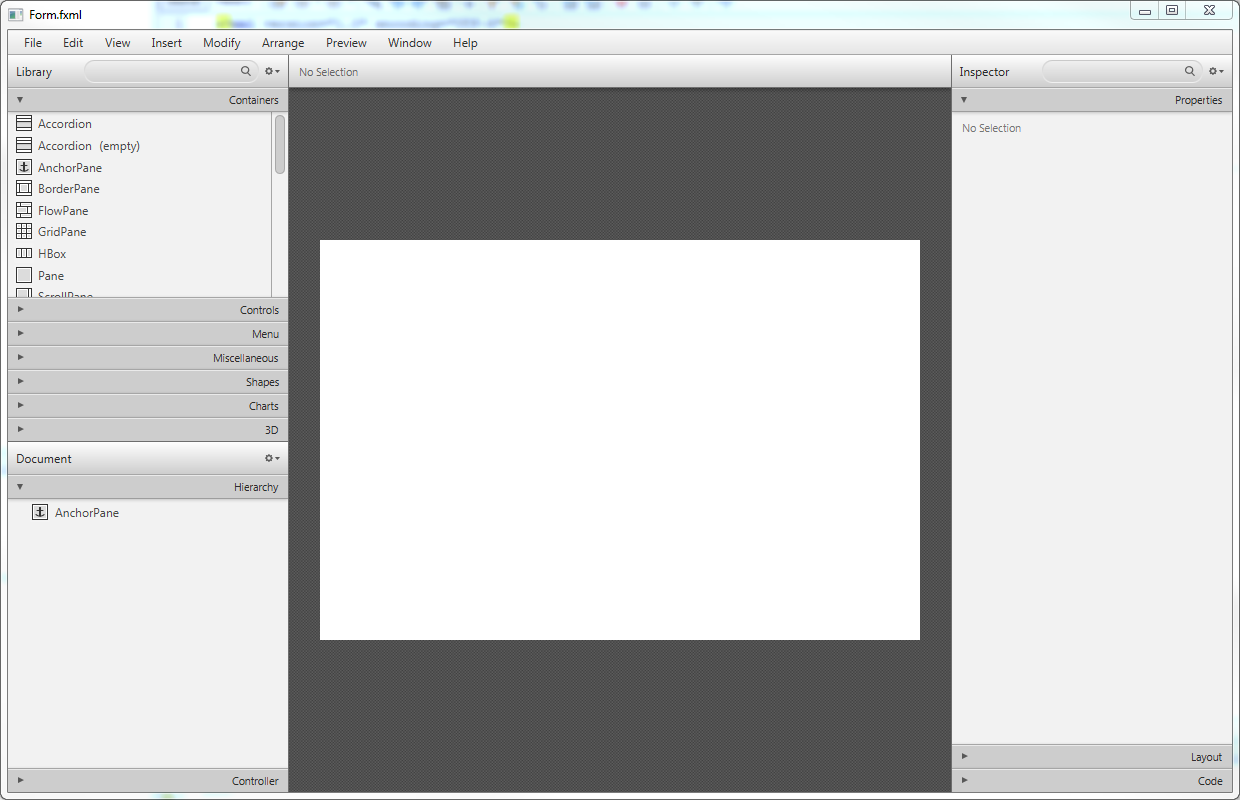
From the Search menu, enter "TextField" and drag a TextField container from the Library pane to your AnchorPane, as shown below.

Then, you will need to set an identifier to this text field in order to retrieve the user input value. Objects in FXML are identified with an fx:id attribute. Click on Code section of the Inspector panel. This will expand a menu where you can set an identifier (e.g. firstNameTextfield).
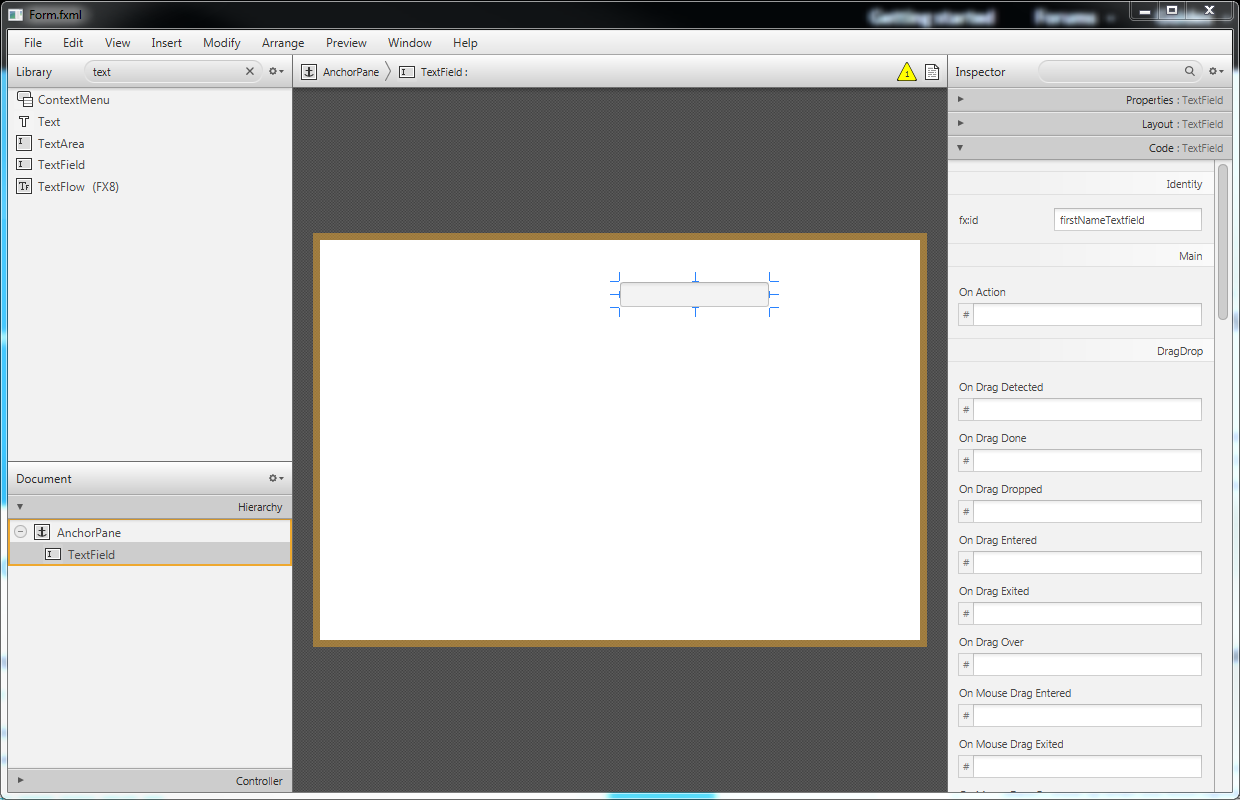
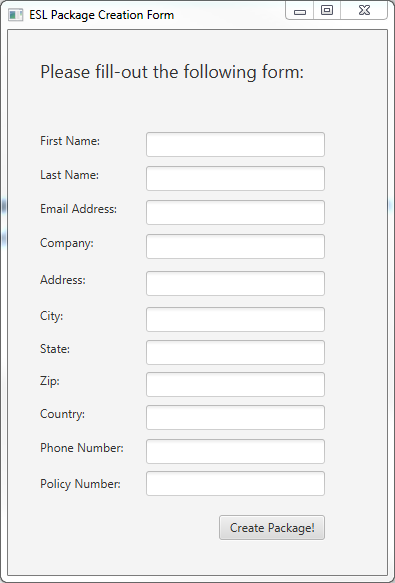
Now, from the Search menu, add a Label next to the text field you just created and change the text to "First Name: ". Repeat these two previous steps until your form looks like the following:
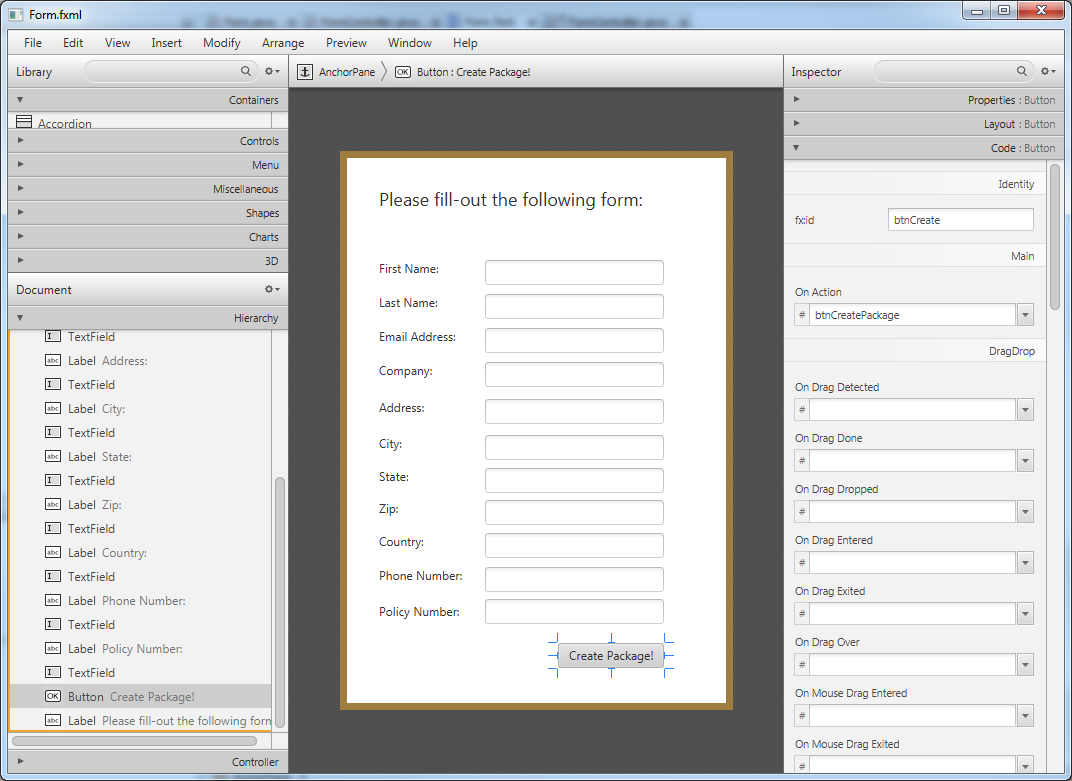
As you can see, I added a button with an On Action "btnCreatePackage". Once the user clicks on the button "Create Package!" (event), it will execute the btnCreatePackage() method (to be defined shortly). Save your FXML file.
We are ready to edit our FormController class. First, you will need to declare the following class variables. These class variables are the identifiers we set previously in the FXML.
@FXML
private TextField firstNameTextfield;
@FXML
private TextField lastNameTextfield;
@FXML
private TextField emailAddressTextfield;
@FXML
private TextField companyTextfield;
@FXML
private TextField addressTextfield;
@FXML
private TextField cityTextfield;
@FXML
private TextField stateTextfield;
@FXML
private TextField zipTextfield;
@FXML
private TextField countryTextfield;
@FXML
private TextField phoneNumberTextfield;
@FXML
private TextField policyNumberTextfield;
The @FXML annotation is used to tag nonpublic controller member fields and handler methods for use by FXML markup. Next, we will need to define the btnCreatePackage() method. Go ahead and add the code below to your FormController class.
|
|
The first two lines calls on the createPackage() and createSessionToken() methods of the ESLSDK class, which will be created shortly, to create a package in eSignLive using the inputs from the text fields.
|
|
The next couple of lines will hide the current window and open a new one.
((Node) (event.getSource())).getScene().getWindow().hide();
Stage stage = new Stage();
stage.setWidth(1000.0);
stage.setHeight(1000.0);
Scene scene = new Scene(new Group());
Next, we will use the WebView and WebEngine class to load the URL which will redirect the user to the signing ceremony using the signer authentication token created previously.
|
|
The final step is to create your "ESLSDK" class. Once you’ve done so, you can copy the following code:
|
|
As you will probably notice, the compiler will throw an error. This is because we haven’t referenced the OneSpan Sign Java SDK. Right-click on the Libraries folder in the Projects Explorer and select Add JAR/Folder. Browse to the location where you saved the JAR files, select them, and click on Open. Also, make sure to replace the api key and document file path placeholders with your own value.
Running Your Code
You are now ready to run your JavaFX desktop application. Click on Run from the toolbar. You should be able to see your form, as shown below.
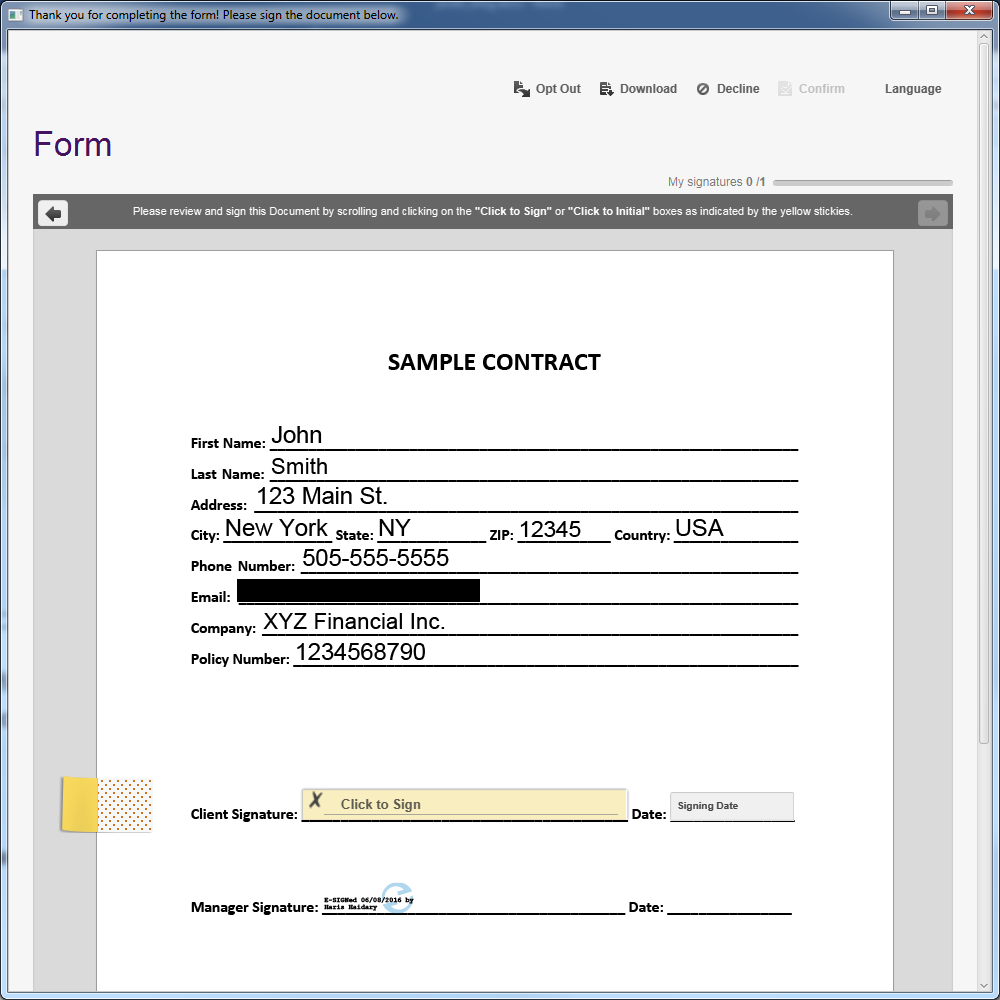
After filling-out some sample information, click on the "Create Package!" button. You should be redirected to the OneSpan Sign signing ceremony, and the document ready to be signed.
You can download the complete project from the Developer Community Code Share, here.
If you have questions regarding this blog or anything else concerning integrating OneSpan Sign into your application, visit the developer community forums: https://developer.esignlive.com. That's it from me. Thank you for reading! If you found this post helpful, please share it on Facebook, Twitter, or LinkedIn.
Haris Haidary
Junior Technical Evangelist
LinkedIn | Twitter

