Tips & Tricks: How to Use Optional Signatures in OneSpan Sign

OneSpan Sign offers Optional Signatures to give your signers the flexibility to complete a transaction without having them sign all the signature fields in the documents. This feature is useful for documents that require the signer to either accept or decline sections of a form.
Let me show you how easy it is to use Optional Signatures in OneSpan Sign:
How to Use Optional Signatures
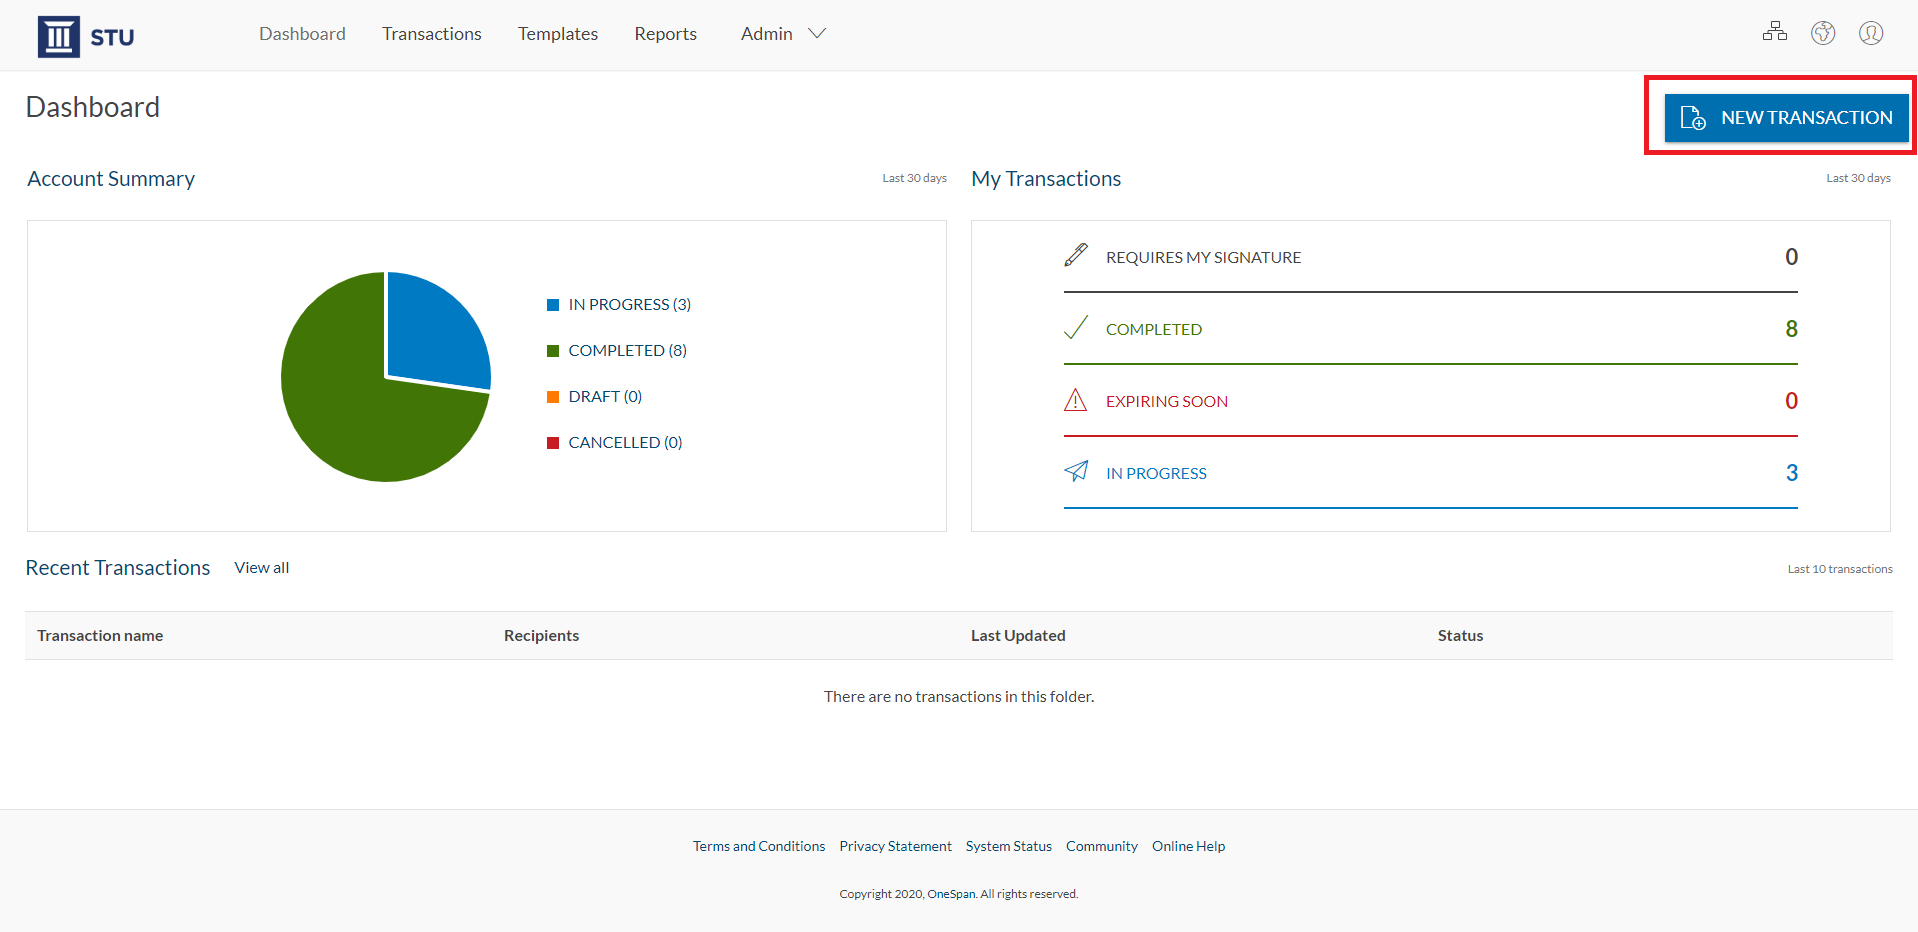
- Click the ‘New Transaction’ button in the top right hand corner.

- Enter a title for your transaction. Click the ‘Create’ button.

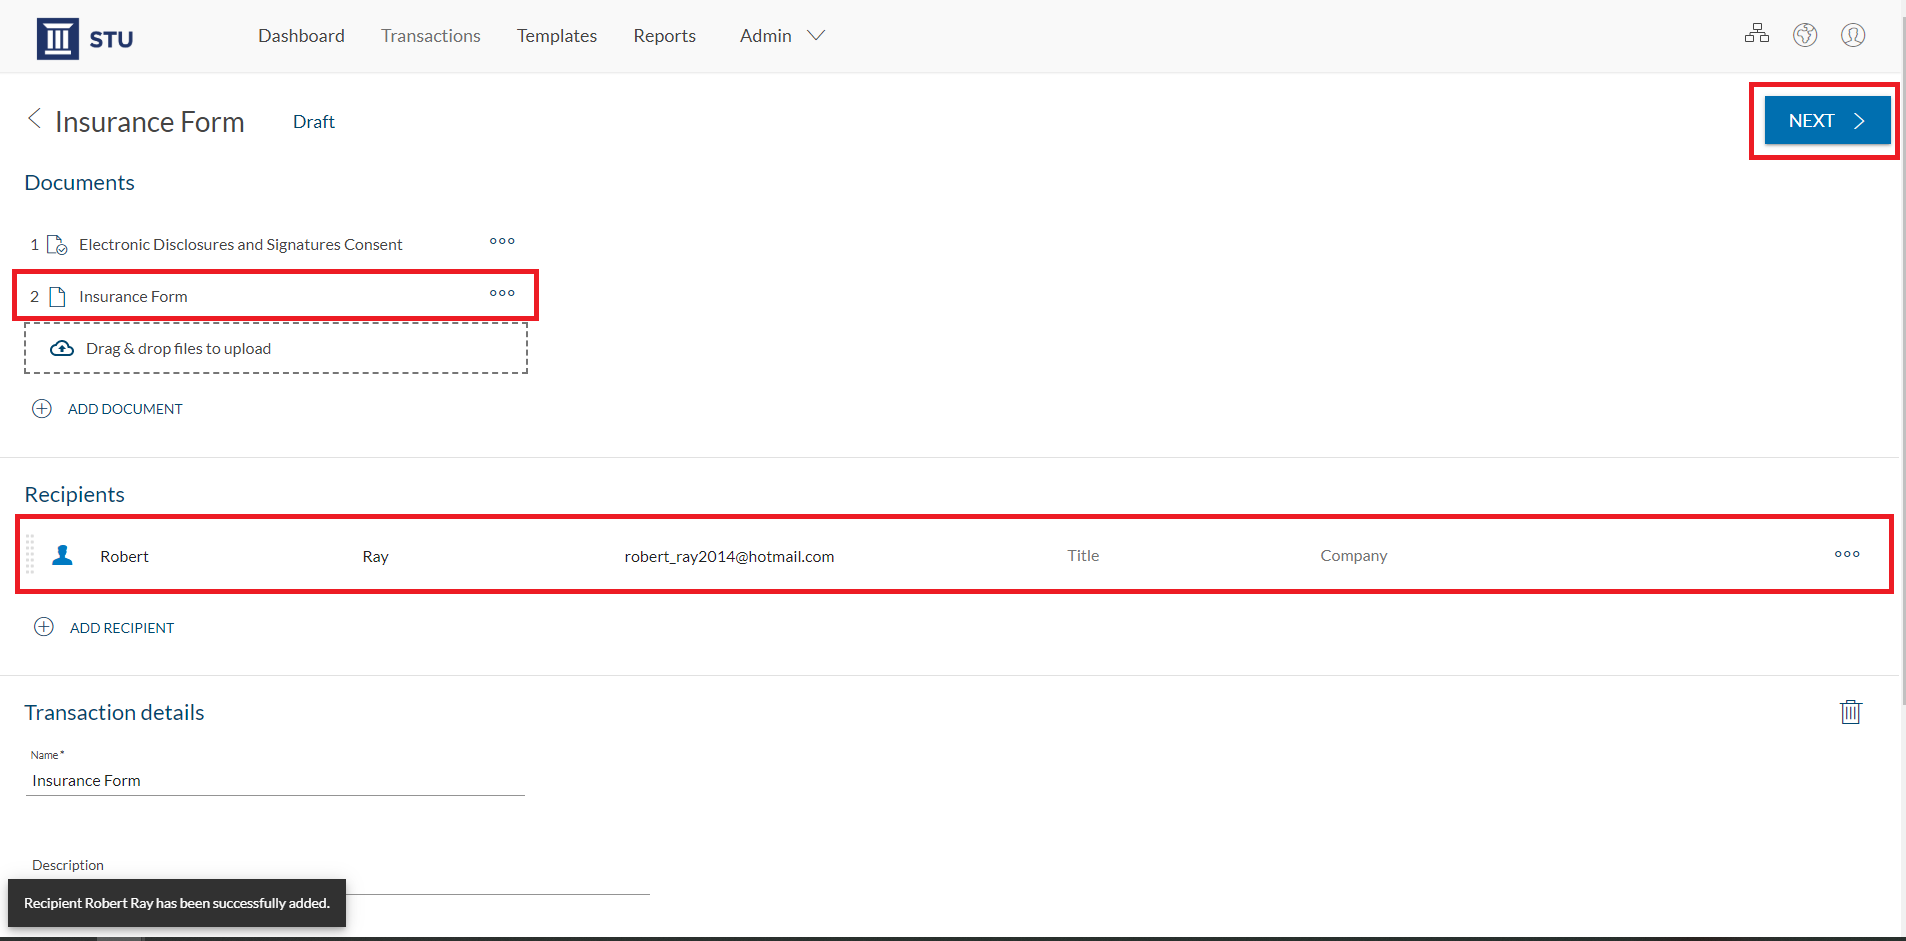
- Add your document and a recipient to your transaction. Click the ‘Next’ button.

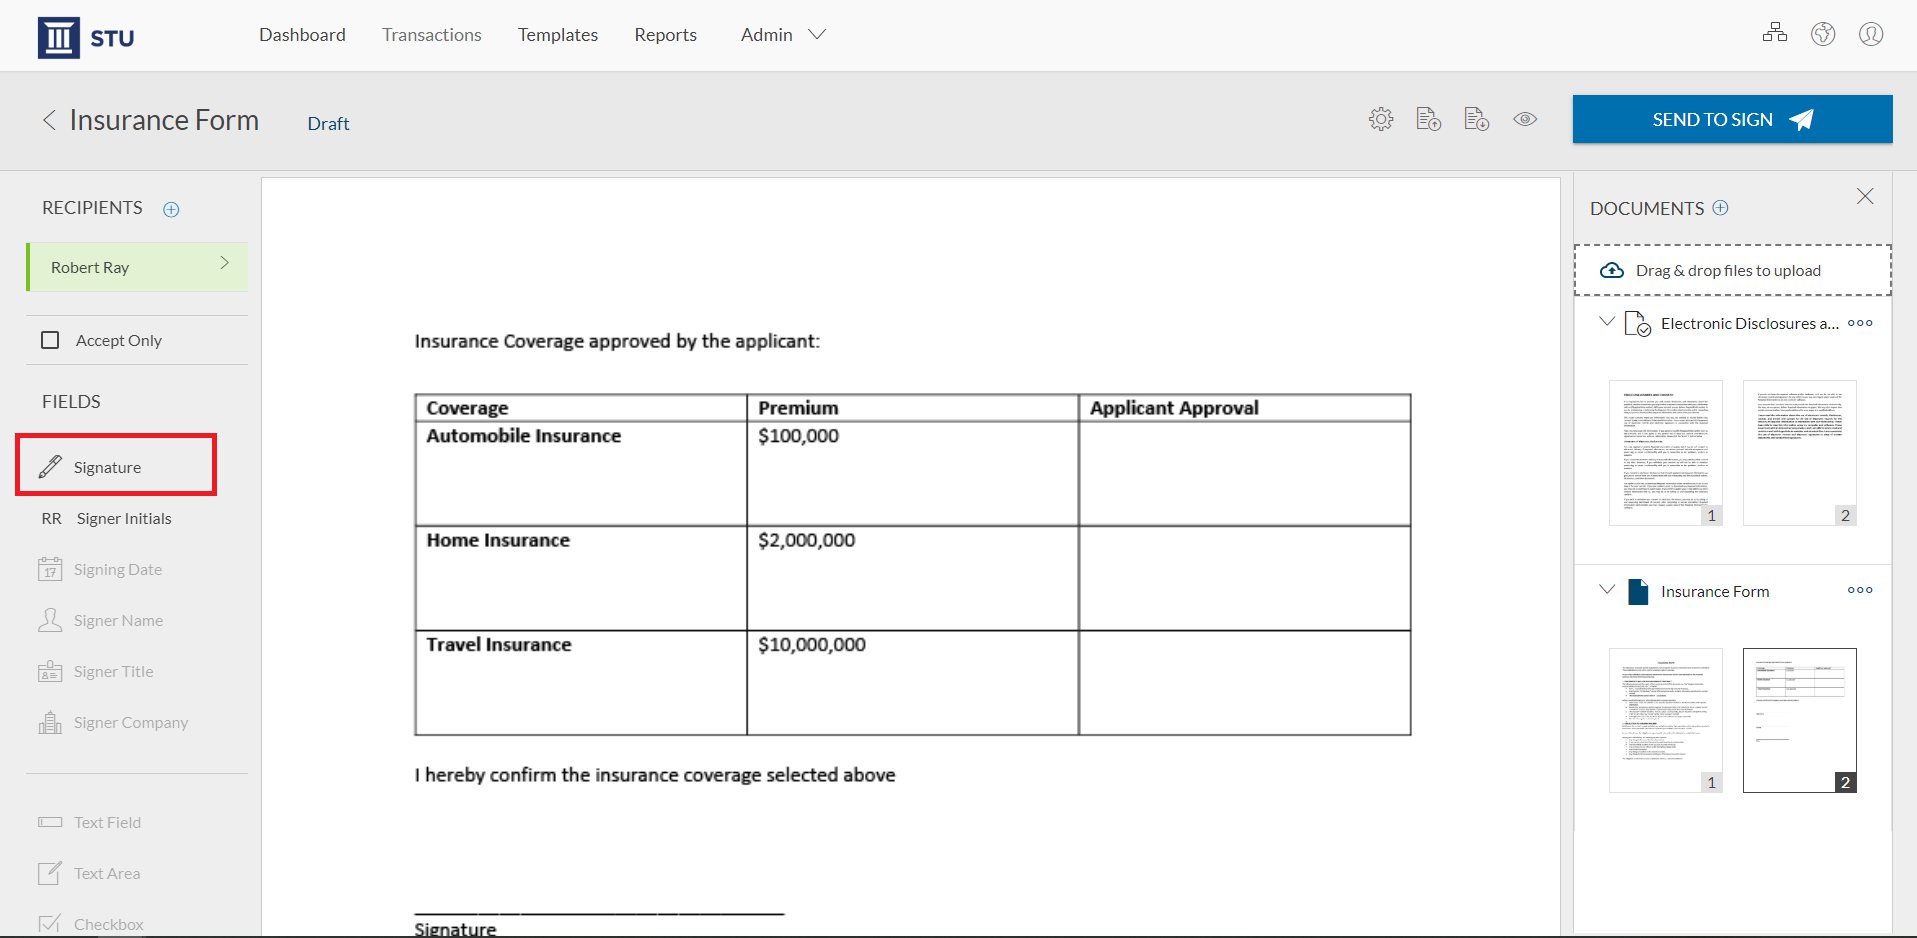
- Now it’s time to add the signature blocks to your document for your recipients to sign. Simply drag-and-drop the signature blocks from the left hand side into the document. In this example, we’re sending an insurance form that requires the signer to accept or decline coverage details of the insurance policy.
- For these sections, we’ll add Optional Signatures to the form. Simply click the gear icon of the signature block, and select ‘Is optional’.


- Once you’re done adding signature blocks to the document and you’re ready to send it to your signer, simply click the ‘Send to Sign’ button to route your document for signing.
- After accessing the document to sign, your signer can complete the transaction by signing the sections of the document that are applicable to them.


