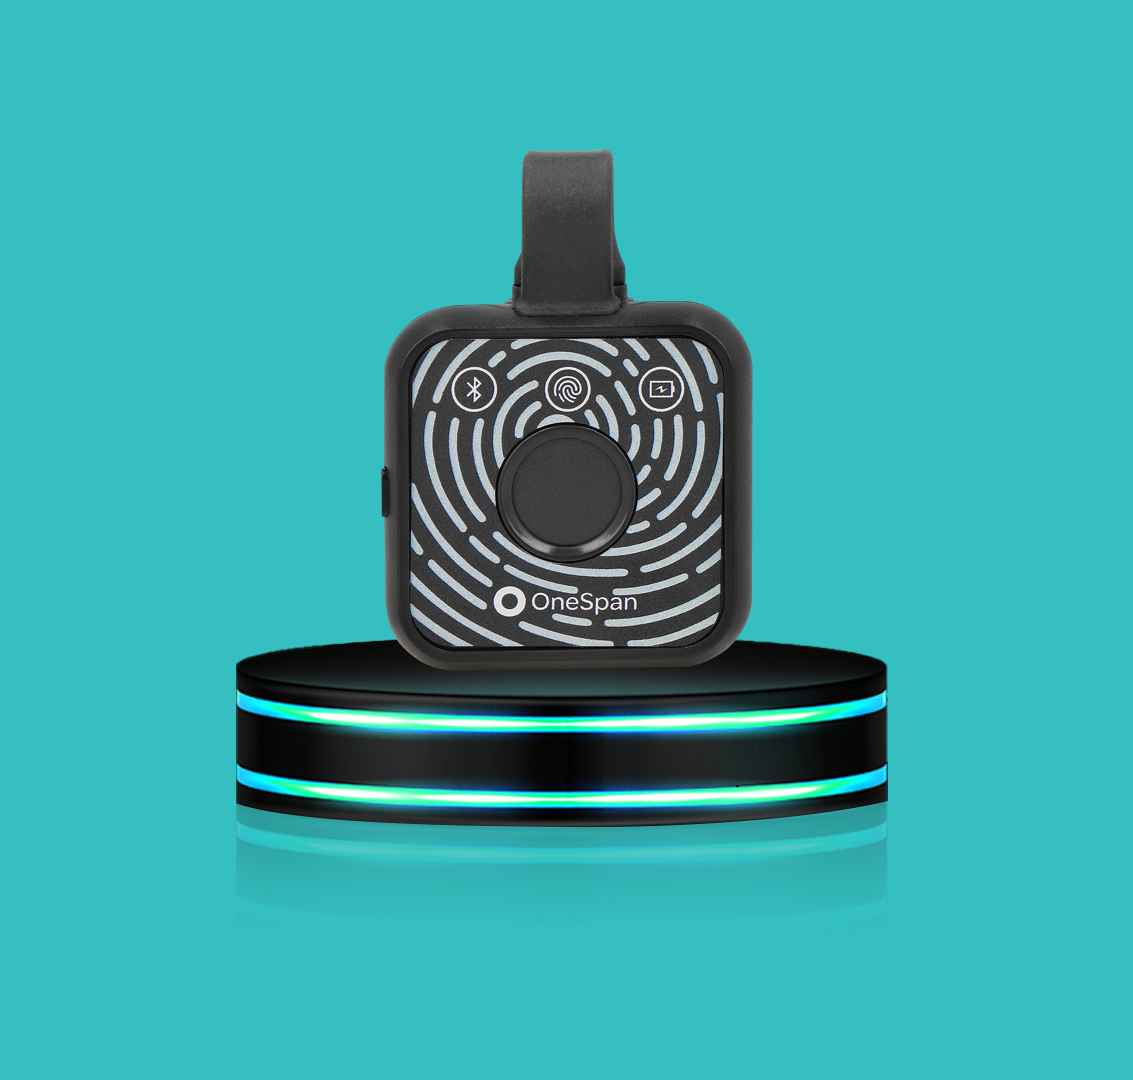
In this video, we will explain how to enable the DIGIPASS FX1 BIO for Microsoft Entra ID. After completing these steps, users in your organization can register and sign in to their Microsoft Entra account using DIGIPASS FX1 BIO.
Sign in to the Microsoft Entra Admin Center as at least an authentication policy administrator.
Browse to Microsoft Entra authentication methods. In the authentication method policy screen, select the method: FIDO2 security key.
Set the toggle to Enable. Select all users or add groups to add specific groups.
There are some optional settings on the Configure tab, to help manage how passkeys can be used for sign in. Select the Configure tab. Allow self-service setup should remain set to Yes. Enforce attestation should be set to Yes.
If your organization wants to be assured that a FIDO2 security key model or passkey provider is genuine and comes from a legitimate vendor, Enforce Key Restrictions should be set to Yes only if your organization wants to allow or disallow certain security key models.
Next, go to Add AAGUID.
The FIDO2 specification requires security key vendors to provide an authenticator at a station GUID during registration. The AAGUID is a 128 bit identifier indicating the key’s make and model.
Select AAGUID and fill in the identifier for DIGIPASS FX1 BIO on the right-hand side of the screen. Click OK. Save your configuration.
Enforce passkey sign-in: To make users sign in with a passkey when they access a sensitive resource, you can enforce the passkey sign-in with DIGIPASS FX1 BIO.
Browse to authentication strengths.
Select New authentication strength. Provide a name for your new authentication strength. Select Passkeys (FIDO2). Select Advanced options. If you want to restrict by specific AAGUID, click Add AAGUID. Enter the AAGUID for DIGIPASS FX1 BIO. Select Save. Choose Next and review the policy configuration.
DIGIPASS FX1 BIO has now been successfully added.


