This video will show you how to set up your Digipass FX1 security key.
Please connect your Digipass FX1 to a USB-C port on your Windows computer. This will power up the device.
We are now going to set up a PIN for the device, enroll a fingerprint, and set up the Bluetooth connection.
Start by opening the Accounts tab in the Windows Settings menu. As part of the sign-in options, you will find the option to manage the security key. Use any finger to touch the fingerprint sensor on FX1. This is the circle in the middle of FX1. Start by setting the PIN for the FX1. Use a strong PIN that is only used for this device. Be aware that FIDO devices have no PIN recovery method. If the PIN is lost, then the device can only be recovered by a full reset, which will wipe all enrolled credentials from the device.
Now that the PIN is set up, we can enroll your fingerprint. Choose a finger. You will need 12 good touches with the same finger. The magenta fingerprint icon indicates that you should touch the fingerprint sensor. A valid touch is confirmed with the icon turning green. A bad touch, with a yellow icon.
After fingerprint enrollment, when you start using the FX1 a blue fingerprint icon requests a touch with any finger, while a magenta icon requests a touch by a registered fingerprint. You can repeat the process and enroll up to five fingers.
Remove the FX1 from the USB port to set up the Bluetooth connection. Windows needs to be in Advanced Device Discovery mode to be able to find the FX1.
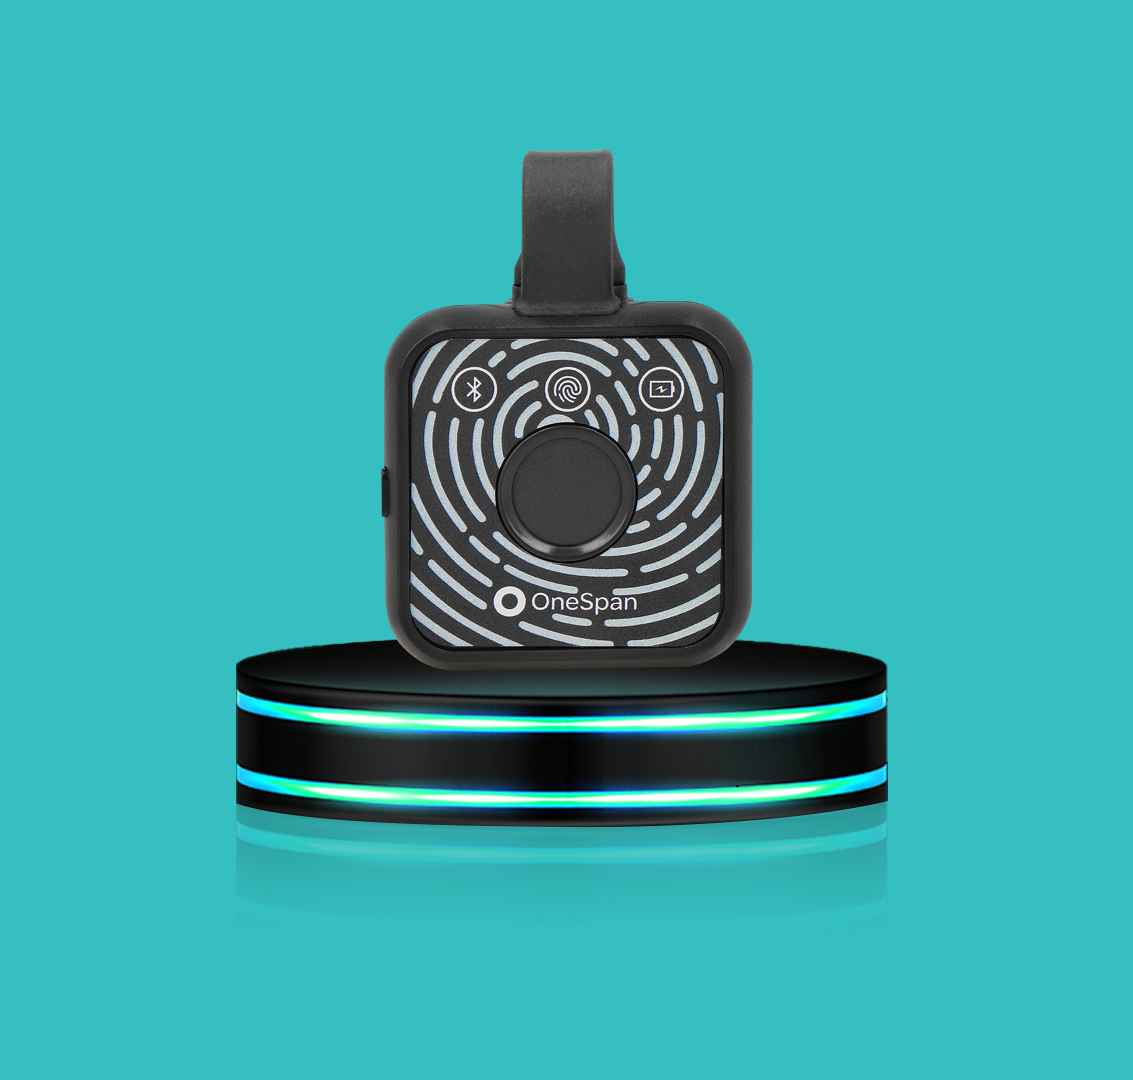
On your Digipass FX1, long-press the small button on the left side until the Bluetooth icon starts flashing blue. This starts the Bluetooth pairing mode. The Bluetooth pairing PIN is always 0000 and independent of the personal PIN you chose earlier.
The Digipass FX1 is now ready for use.
Webpage
OneSpan Digipass® FX1
Learn how the Digipass FX1 protects employees from social engineering attacks – while providing the best user experience, strengthening security, and reducing the IT burden.
Learn more